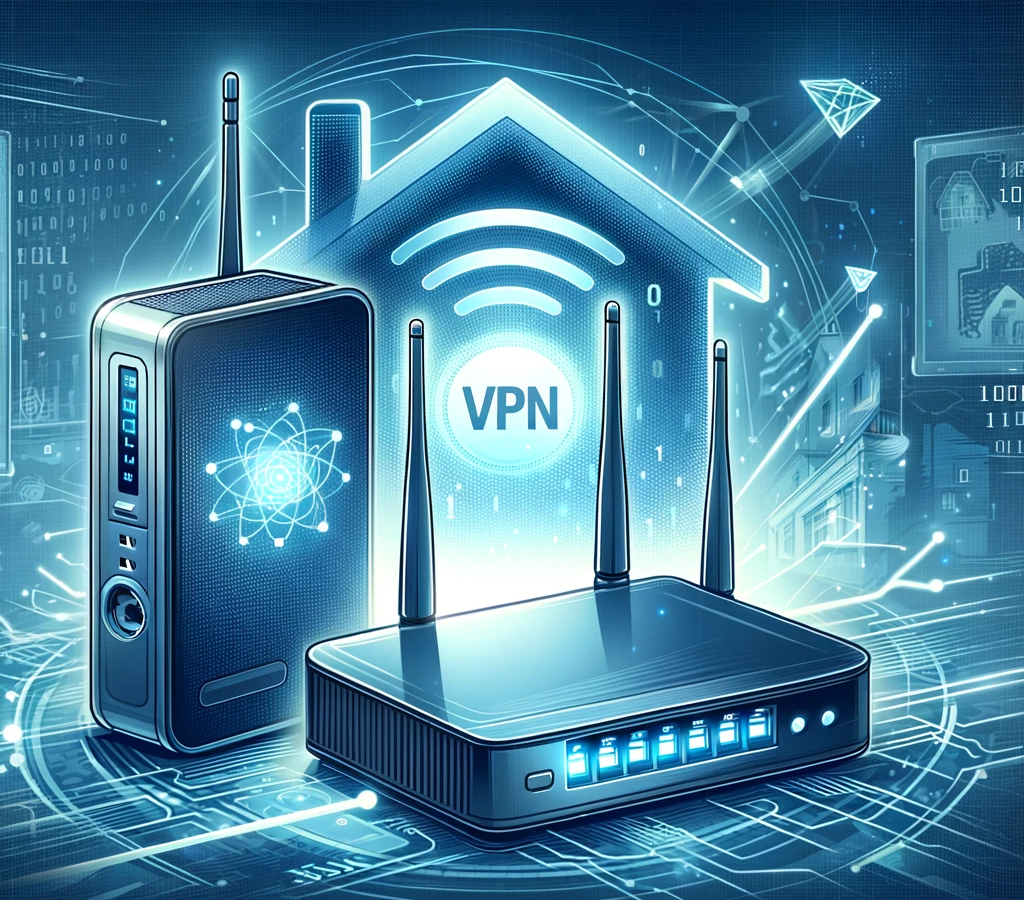
How to connect your Router to a VPN ?
VPN Router setup made simpleIn the era of digital connectivity, prioritizing online security is essential. A Virtual Private Network (VPN) provides a robust solution, and configuring it on your router ensures comprehensive protection for all connected devices, from smart home gadgets to laptops and mobile phones. This guide streamlines the process of setting up a VPN on your router, bolstering overall online security for a smooth and protected browsing experience.
What is a VPN Router?
Before we delve into the setup process, let's clarify what a VPN router entails.
A VPN (Virtual Private Network) establishes an encrypted connection over the Internet from a device to a network, ensuring the secure transmission of sensitive data. This encryption prevents unauthorized eavesdropping, enabling users to surf the internet securely and privately.
A VPN router integrates VPN capabilities into a local network router, extending these benefits to all connected devices without requiring individual configurations for each device.
Check Your Router’s compatibility
Confirm your router's compatibility. Not all routers have the features to connect to VPNs, so refer to the router's manual or conduct an online search using the router name, model number, and text "VPN setup". The search results should provide information on your router's compatibility and offer device-specific instructions for setting up a VPN.
Select a VPN Service
If you haven’t already, you’ll need to subscribe to a reliable VPN service. Popular options include NordVPN, ExpressVPN, TunnelBear or others. Follow their instructions to set up an account.
We recommend Surfshark VPN, as they support all major Router systems and are easiest to configure.
Access The Router Settings
Check your manual for how to access the router settings. If you don’t have a manual, the information is typically available in the manufacturer website or support documentation. If you have neither the manual nor documentation, you can follow the steps below.
Log in to your router's web interface. You can usually do this by entering the router's IP address into a web browser. On Windows you can find your router’s IP address by doing the following:
- In the start menu, type CMD then click “Open” under the command prompt app
- In the window that opens, type “ipconfig” and hit “Enter”
- The router’s IP address should be under the “Default Gateway” line.
- You’ll then be prompted to enter the router’s username and password. If you haven’t changed them from the defaults, they are normally on the sticker on the underside of your router, or in the router manual.
Create a Backup of Your Router Settings
Ensure a smooth return to your initial settings by creating a backup. If your device doesn't have a backup feature, manually document each checkbox and field using pen and paper or capture screenshots for future reference.
Update the VPN Settings and Enable VPN Service
In the router settings, find the section related to VPN or security settings. The location varies by router model, so consult your router's documentation for guidance.
Enable the VPN service on your router. You may need to enter details provided by your VPN service, such as server addresses, authentication credentials, and encryption settings.
Save the changes you made to the router settings and reboot the router. This step is crucial for the new VPN settings to take effect.
Test the Connection
Verify that your devices are successfully connected to the VPN. You can use online tools to check your IP address and confirm that it matches the server location of your VPN.
Troubleshoot if Necessary
If you encounter issues, refer to your router and VPN service documentation for troubleshooting tips. Common problems include incorrect settings, firewall issues, or compatibility problems. The backup you made earlier will come in handy here.
Remember, the specific steps can vary based on your router and VPN service, so always refer to the documentation provided by both.
The Pros of a VPN router
- Network-Wide Privacy: A VPN router extends privacy protection to all devices connected to the network, ensuring comprehensive online anonymity. You won’t need to repeat the VPN setup on each of your devices.
- Device Agnostic Protection: Even devices on which you can’t directly install a VPN gain protection. No more compatibility issues.
- Easy Configuration:Once set up, a VPN router requires minimal maintenance, offering ongoing security without constant user intervention. This makes it convenient as you won’t need to log in every now and then.
- Connect Unlimited Devices: Some VPN providers limit the number of devices you can connect to the VPN. So, you can connect as many devices as your router can handle since it’s the only entry point to the VPN.
The Cons of a VPN router
- Reduced Speed: A higher number of devices using VPN encryption can lead to slower internet speeds, impacting the overall network performance.
- Configuration Complexity: Setting up a VPN router may be more complex than configuring a VPN on individual devices, especially for users with limited technical knowledge.
- Compatibility Issues: Some routers may not be compatible with certain VPN protocols, limiting your choice of VPN providers.
- Hardware Limitations: Older router models may lack the processing power needed for efficient VPN encryption, resulting in performance issues.
- Cost: Routers with built-in VPN capabilities or VPN-compatible routers can be more expensive than standard routers.
- Limited Device-specific Settings: Individual device customization options for VPN settings may be limited when using a VPN router.
- Incompatibility with Certain Applications: Occasionaly some applications and services may not work seamlessly with a VPN router, leading to usability issues for specific functionalities.

